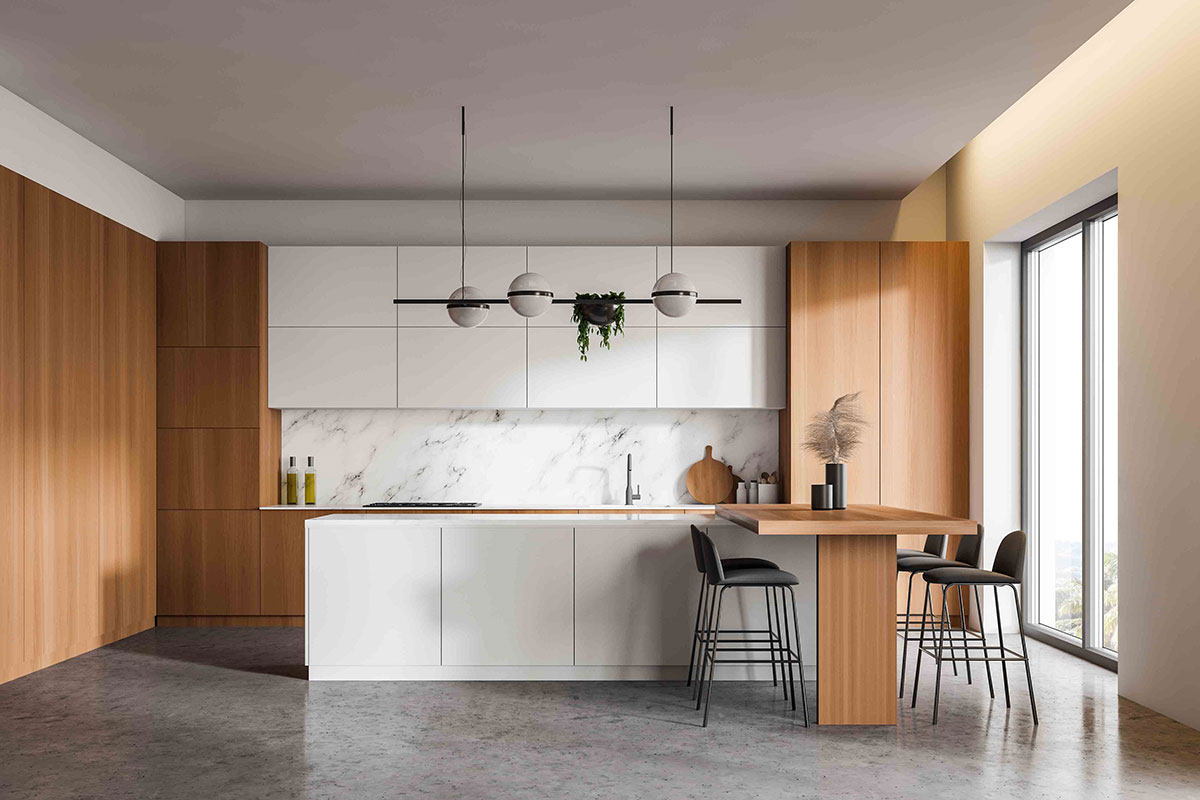
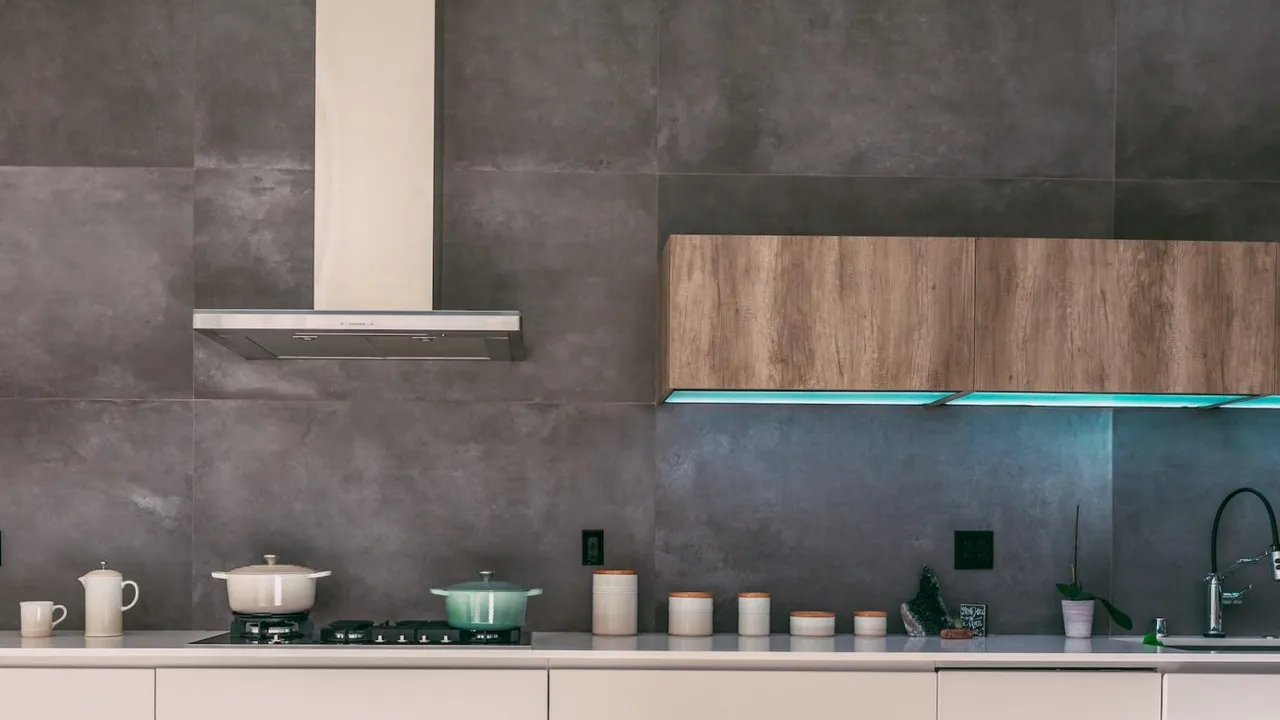
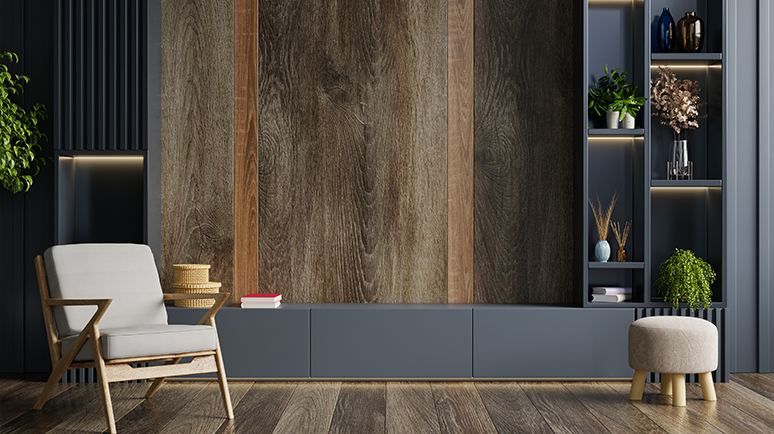
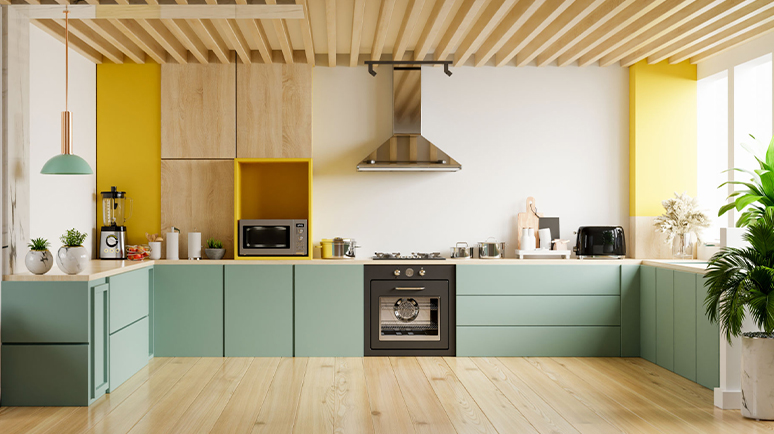
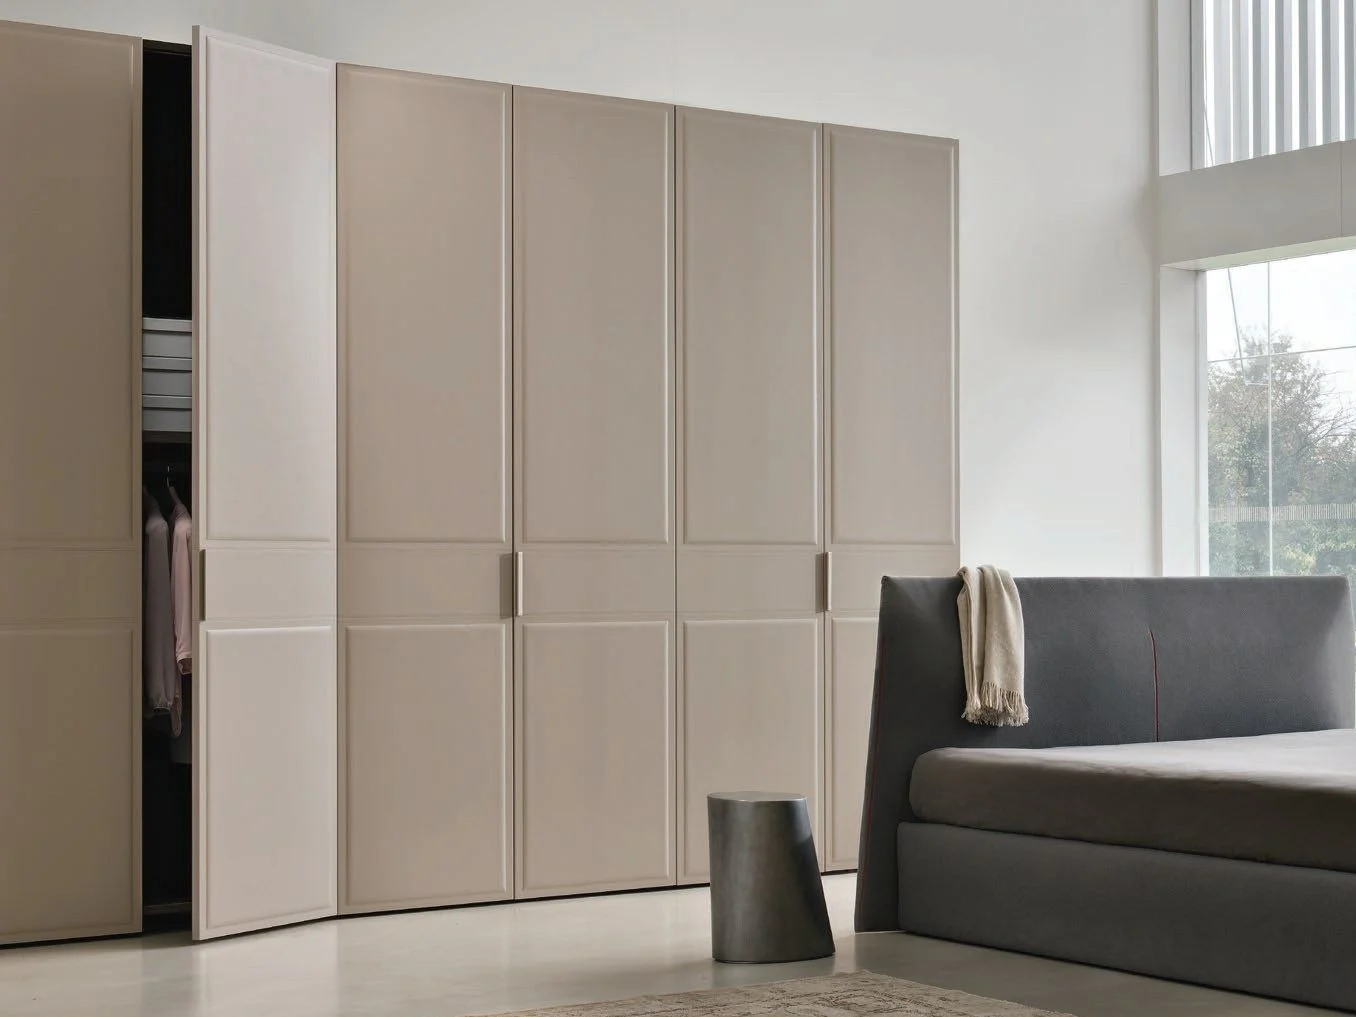
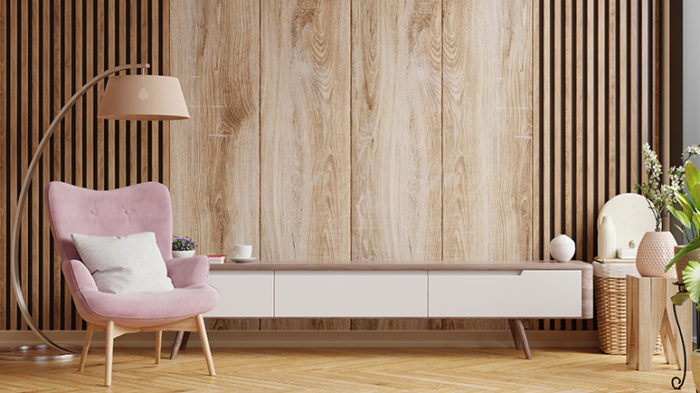
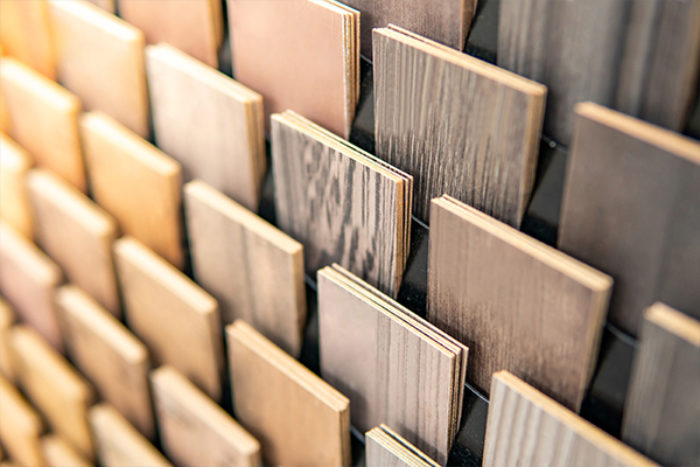
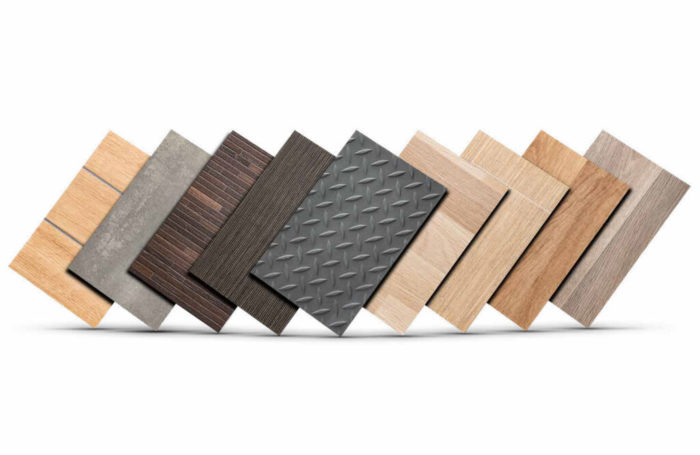
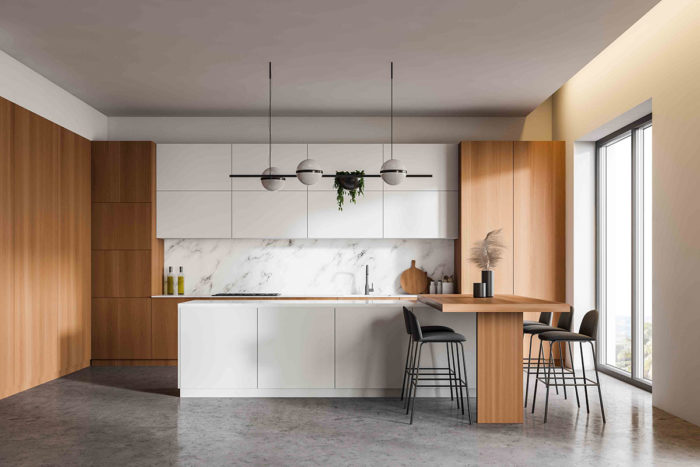
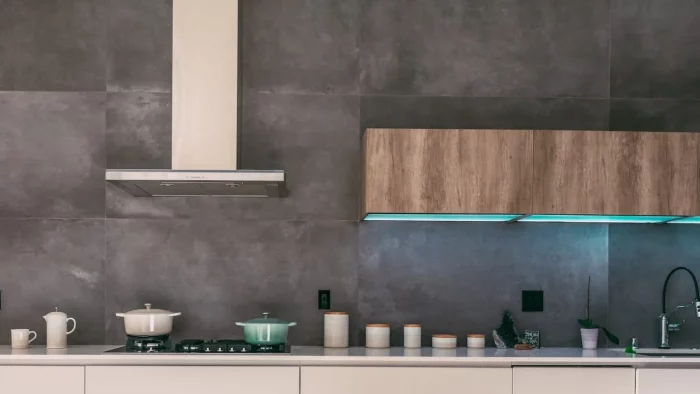
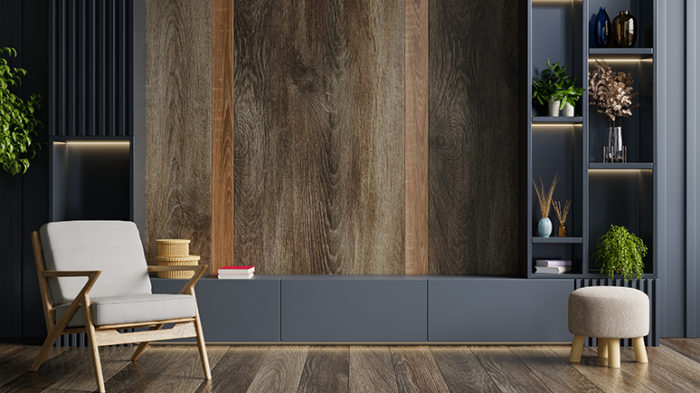
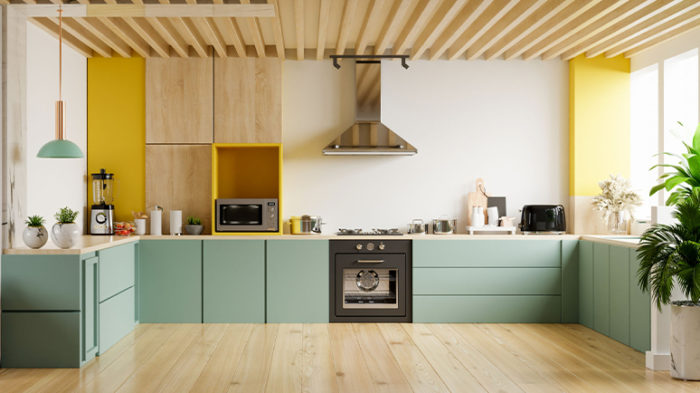
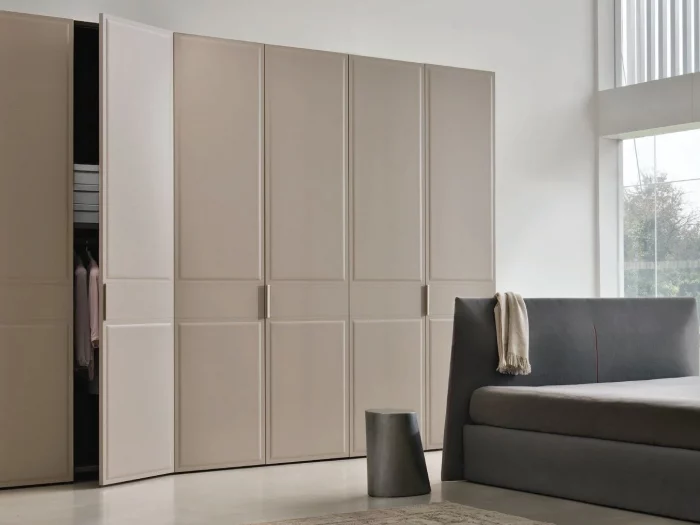
Laminating sheets have become increasingly popular in interior design. Besides being a practical means of surface protection, they also offer refined elegance to any interior design style. Whether you’re looking to spruce up your kitchen counters or give your bedroom furniture a new look, laminating sheets can help you achieve the desired effect.
What Are Laminating Sheets?
Laminating sheets are made by bonding two or more layers of materials. Laminate sheets from plastics are glued to wood to make the surface aesthetic. Laminating sheets are manufactured by laminating different types of papers with formaldehyde. The core sheet consists of Kraft paper with phenol-formaldehyde (PF); below it, a barrier paper is provided.
Above the Kraft paper, a tissue paper is impregnated with FF melamine formaldehyde (MF) resin, which gives protection and enhances abrasion resistance. Then, these laminates are bonded to wooden surfaces with a suitable glue, and pressing for some time finishes the process. Due to the availability of different types in the market these days, laminating sheets are used in corporate offices, commercial complexes, residential buildings, restaurants, hotels, etc… for decorative purposes.
Types of Laminating Sheets
1) Based on Usage
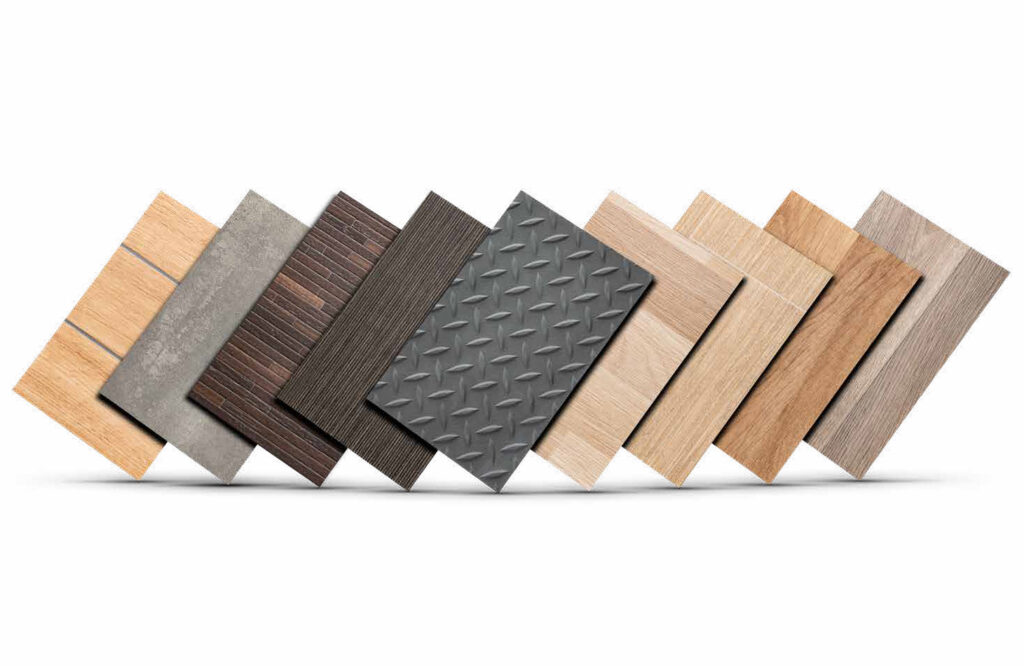
- Decorative Laminates: These are simply for aesthetics, as the name suggests. They come in various colors, patterns, and textures, allowing you to give your furniture, cabinets, wall panels, and other installations a high-end, custom look. They are a popular material for bookcases, closet doors, kitchen cabinets, office partitions, and meeting room partitions.
- Industrial Laminates
Industrial Laminates have stable geometry at high temperatures and also exhibit high resistance to scratches and wear and tear. Besides this, they also have a high strength-to-weight ratio and show minimal deformation when subjected to loads. These properties make these laminates ideal for constructing circuit boards at home, storage boxes, and other industrial furniture.
2) Based on the Surface Finish
- Matte Finish Laminates
These laminates are non-shiny and completely lusterless, giving a “Matte” effect on the surface. The biggest plus of these laminating sheets is that they make marks and scratches less noticeable with their muted appearance. They are perfect for floorings, kitchen cabinets, worktops, and corporate areas.
- Glossy Finish Laminates
In contrast, to matt finish laminates, these laminates give a “glossy” or “shiny” effect on the surface. This glossy finish gives a luxurious look and often makes the furniture or room look eye catchy and inviting. Generally, these laminates are used in restaurants, spas and saloons, hotels, and the event industry. As they make cleaning easy, they are also preferred for kitchen units.
- Metallic Finish Laminates
These laminates give a metallic look to the furniture surfaces. They are durable and also make cleaning and maintenance not quite a big task. Metallic finish laminates are widely used in commercial buildings, offices, and showrooms.
- Texture Finish Laminates
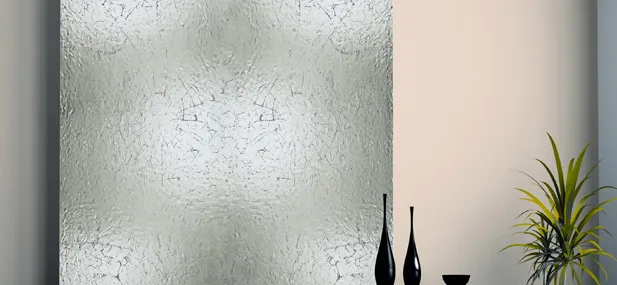
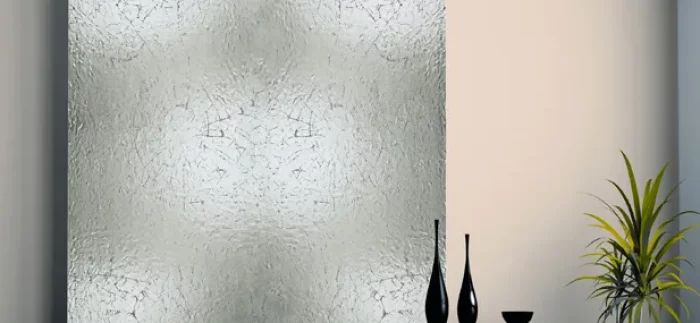
The laminates that make you feel the texture on its surface are texture-finish laminates. They are decorative laminate that beautifies the surroundings by creating impressive impacts. These laminating sheets are often used for wall cladding, flooring, corporate offices, and commercial spaces.
- Solid Color Laminates
These are the most common laminates in which the whole laminate sheet has one solid color without any prints or textures. They are best suited for kitchen countertops and bathrooms.
- Leather laminate sheets
These laminates give the look of the leather material to the surface where it is used. They are apt for cabinets and other furniture.
How to Install Laminating Sheets?
Materials Needed For Installing Laminate Sheets
- Laminate sheet: Broader and longer than your countertop
- Contact cement
- 4″ foam paint roller
- Laminate roller
- 1″ wooden dowels: Cut slightly longer than the width of your countertop
- Table saw: Circular saw or track saw for cutting laminate sheets. You can also use a utility knife and a drywall square if you only make a few cuts.
- Trim router and flush cut router bit
- Painter’s tape: For masking off cut line and preventing chipping
How to Cut Laminating Sheets?
Measure your countertop (and double-check those measurements) before you start cutting. Add a half inch to the length and width for router trimming.
1. Score and Snap Method
Rather than breaking out the saw for a few quick cuts, consider switching to a utility knife and drywall square. To cut acrylic sheets, follow the same scoring and snapping procedure. However, cutting with a saw is quicker and more precise.
2. Power Saw Method
Use a dry-erase marker to indicate the beginning and end of the cut line (it erases easily), and then place a continuous strip of painted tape down the line. The completed surface won’t chip if you do this. Since working with large sheets in a limited workspace can be challenging, support the laminate sheet with foam padding to keep the blade from slicing through the work surface. Make sure nothing moves while you’re cutting by clamping it down.
Start Installing The Sheets
1. Sand and Clean The Surface
Because the laminate sheet will highlight any flaws in the base material, now is the time to polish and clean thoroughly. Use wood putty to patch up any damage, then sand it easily.
2. Attach The Edges First
To begin installing the laminate, you would require first to cut it to the thickness of your countertop.
3. Apply The Contact Cement
Work in an adequately conditioned environment and strictly adhere to the can’s precautions when using contact cement, as it has a strong odor. Shake it well to prevent solids from settling into the bottom of the can. Use the stir stick to apply the contact cement to the laminate’s reverse side. The contact cement can be swiftly and uniformly applied with a foam paint roller on the surface.
Spray contact cement to the countertop in the exact manner you used to coat the outer surface of the laminate sheet. This part may seem counterintuitive, but you must let both sides dry thoroughly before attaching them. It should take 10-15 minutes, and you can easily see the difference between the wet and dry sections.
4. Position The Laminate Sheet With Dowels
The sheet can be rolled out on top of wooden sticks and adjusted until the desired shape is achieved because the bond between both sides is constant. Distribute the dowels at 8-12 inch intervals along the countertop.
Set the laminate sheet on top of the dowels and roll them to the desired angle to achieve a slight hanging on all sides. Then you need to press down hard and remove the central dowel.
Start at one end and work to the other, removing dowels and compressing laminate. Pressing from the center outwards will help prevent air spaces from forming. When you’ve finished covering the area, press firmly with a J-roller to make a permanent bond.
5. Trim The Excess With A Router
You can cut the sheet slightly more prominently than necessary and use a router to trim it precisely to size.
6. Sand or File The Edges
Remove rough edges or veneers from the cutting bit created with a file or polishing block.
Laminating Sheets: In a Nutshell
Customers have always favored laminating sheets due to the material’s reliability and adaptability over the years. These laminating sheets are ideal for a wide variety of settings, including workplaces, residences, hotels, retail stores, and more, thanks to their adaptability in terms of both size and density. To locate the ideal laminate sheet, consider the intended use, the expected level of wear and tear, the expected foot traffic, and, of course, your budget.
